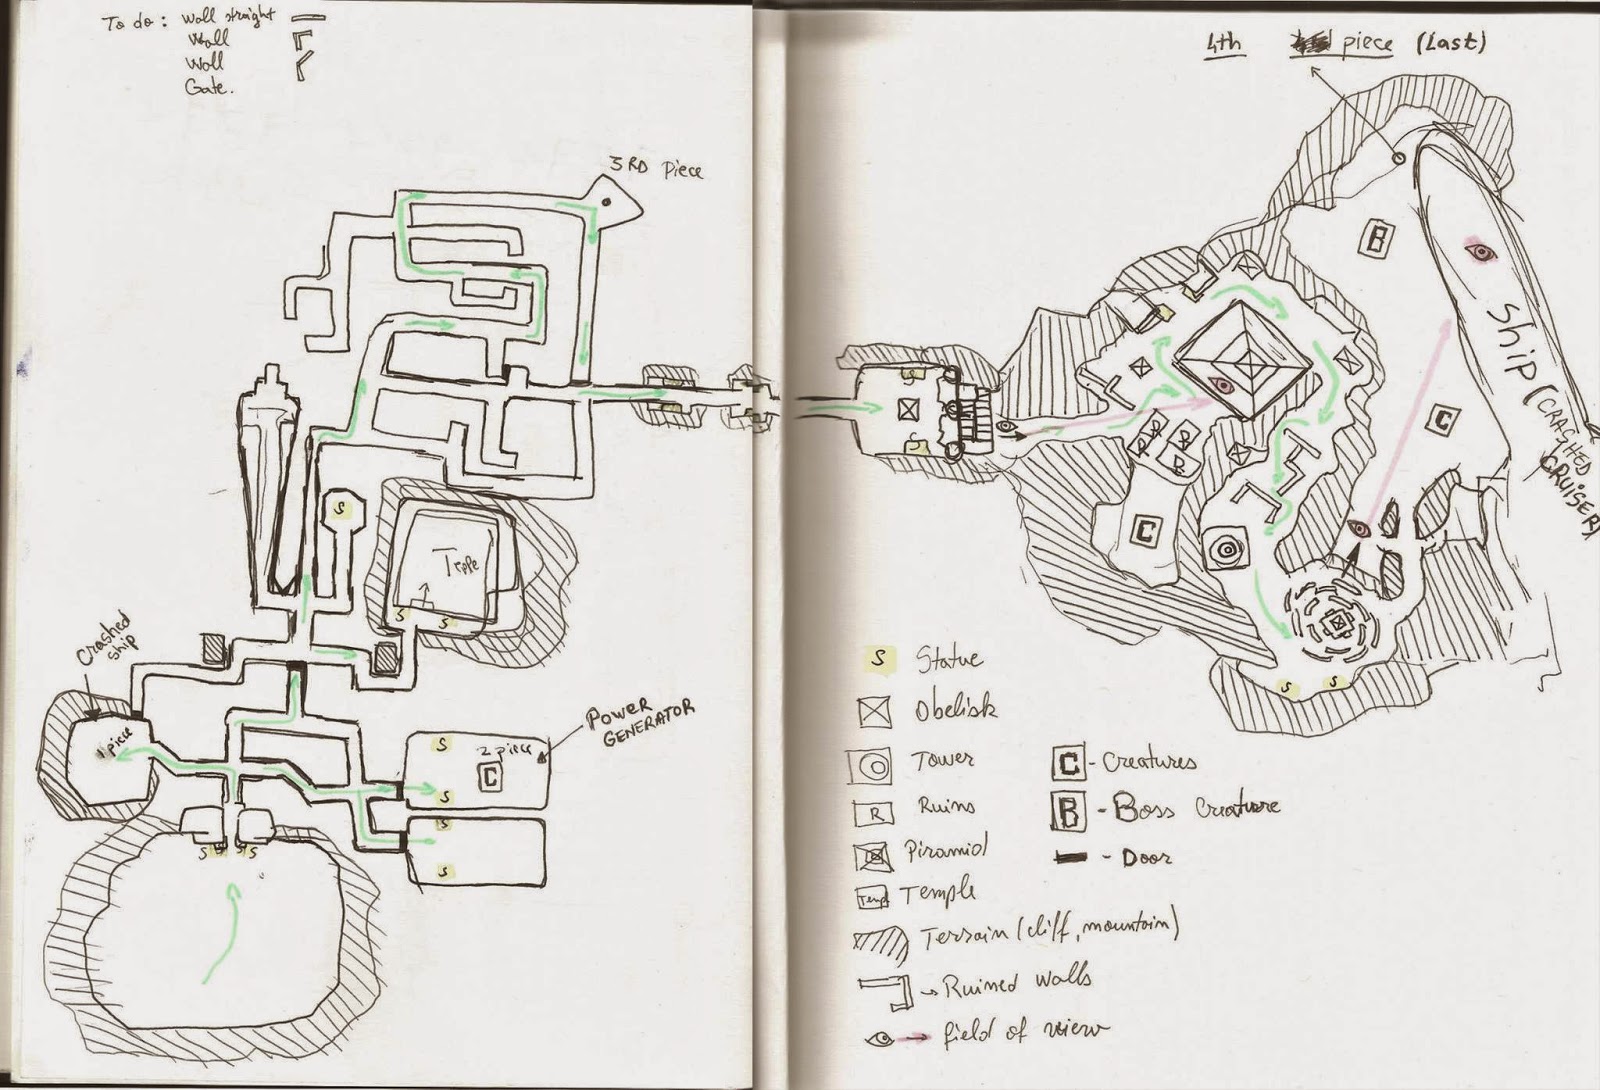
Working on game mechanics.
We started with a glowing texture, what we had in mind was to make some crystals glow only when the player was around them, but we changed our mind because we wanted to keep the lights even when the player was at a distance from them so we just animated the glow
The most interesting part in this animated texture was using the time with the cosine function node to keep the values from -1 to 1 and then using the clamp node to restrict it only from 0 to 1. So the rotation wont increase towards the infinite.
Next we implemented a door open and a info text with some light.
The text and light+ the key input activation are triggered by a proximity cube when the player start overlap with the cube they activate, and deactivating when the player stops overlapping with the cube.
Because the first door was activated by a single button switch I thought that the second door would close itself after releasing the button in this way the player would get stuck on the other side, this was an easy way of doing a no point return, here is the implementation of the first gate.
And here is the second gate implementation:
Next step was to make the door move and to connect the input to a key press and a proximity detector.
The trap trigger as it can be seen below has a 4 seconds delay before returning back to it's initial position.
My first approach in showing the objective message was a draw text procedure which was achieved with a HUD blueprint; unfortunately I couldn't find out why the Draw text wasn't drawing any text on the HUD, either way here is the call function
The objective in the beginning would be communicated with the help of a trigger cube here is the implementation:
Further down the road we made a base parent class for pick-up from which we derived two children the Collectable, and the Energy.
This blueprint is the pick-up event it basically print's the item name, collectable or ammo, and adds +1 to the variable and set's it; then it print's out a string with the new values of the collected item.
This small blueprint has the role of printing the number of collected artefacts which includes collectables as well as ammo;
I implemented a basic shooting system with a limited amount of ammo, unfortunately I was unable to connect the pick-up ammo variable with the initial allocated ammo variable; The projectile also is loosing velocity and can interact with objects in the scene with other words physics.
Lower is the construction script that sets the length of the collectables.
Worked on the camera mode, now the camera can switch from 3-rd person to first person using the mouse wheel here is how it's implemented:
As we planned to implement creatures in the game we had to create a firing system so we made the left mouse button the trigger for that, also create variables for maximum ammo and current ammo plus health and energy as our character will be half mechanic it will consume energy when he will hyper jump or sprint. Added sound when the fire system is triggered a -- counter that will reduce the ammo and set the variable to the new value. The trigger will only work after it will perform a check to see if there is any ammo left.
Next the implementation of checkpoints with respawn points at the checkpoint location. First I created a respawn interface blueprint which I included in My_Character blueprint, I created two functions Set_Checkpoint and Get_Checkpoint, the set look like this:
and here is Get_checkpoint:
Next step inside My Character blueprint I created a new function called Spawn Player which will re-spawn player at the latest checkpoint but if player will re-spawn at the same checkpoint twice or better said more than once it will be randomly placed on the map, here is how the blueprint look:
The HUD is simplistic and basic but it serves it's purpose in this case here is how it looks inside the designer: Left top ammo bottom left the life rectangle near to this with orange it s the stamina bar and the long green one it's the experience bar;
here is the cast return of the player's health variable P Health, towards the health bar on the HUD
The text implementation of the current ammo variable, basically it outputs the variable on the screen
The energy output to HUD
And finally the Hyper jump event which supposed to be triggered when the player would acquire a number of experience in the blueprint the XP is set to 1>= and the H experience variable it is set at a value of 1 because the acquire of experience hasn't been implemented. This should increase the jump size distance but I couldn't figure it out and also decrease the stamina level. Here is how I've done it:
Last but not least I created the victory point, reaching this point will send the player to another level which is the main menu level.


_02.jpg)


